

Appearance
Tutorial: your first coaster
In this tutorial you make a 100 mm round coaster with raised letters: a pocket around the name, crisp V-bit edges on the letters, and a cut-out with holding tabs. It takes about 15 minutes in the editor and uses two bits, a ¼″ flat end mill and a 60° V-bit.
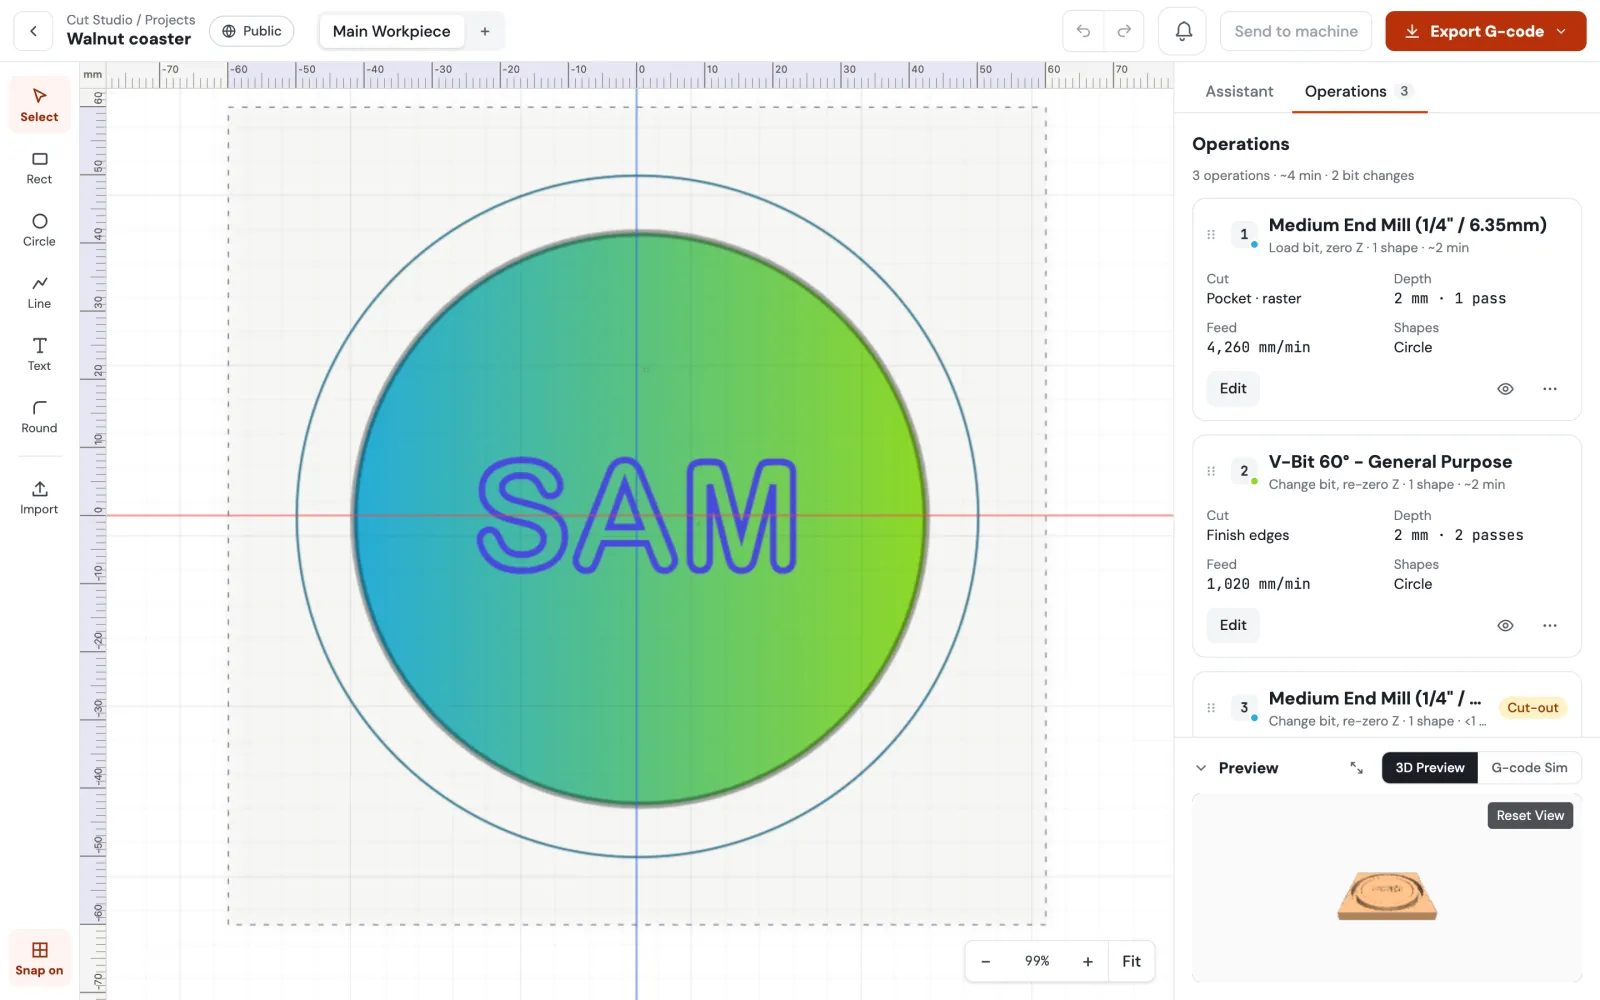
You'll learn the three things every Cut Studio job comes down to: draw, say how each shape is cut, and check the operations.
1. Create the project
- In Cut Studio, click New project.
- Name it Walnut coaster.
- Set the stock to 120 × 120 × 12 mm and the material to Hardwood.
- Set the zero point to Centre. That puts X0 Y0 in the middle of the blank, which makes round parts easy to place.
- Click Create and open editor.
2. Draw the outline
- Pick Circle in the toolbar on the left and drag a circle anywhere on the stock.
- In the bar that appears under the canvas, type W 100 and H 100, then X -50 and Y -50 so it's centred on zero.

That circle is the outside of the coaster.
3. Draw the pocket and the letters
- Draw a second circle and make it 84 × 84 at X -42, Y -42. This is the area you'll clear around the letters.
- Pick Text, click in the middle of the stock and type your name in the bar's Text box. Choose a bold font (ArialRoundedBold works well) and set W to about 46. Centre it the same way: X is minus half the width, Y minus half the height.
4. Say how each shape is cut
Click a shape and use the bottom row of the bar: Depth, cut path, bit, and for some cuts a finishing bit or tabs.
The inner circle (pocket):
- Depth 2, cut path Pocket, bit ¼″ end mill.
- Finish: V-Bit 60°. After the end mill clears the pocket, the V-bit goes round the edges and leaves a clean chamfer.
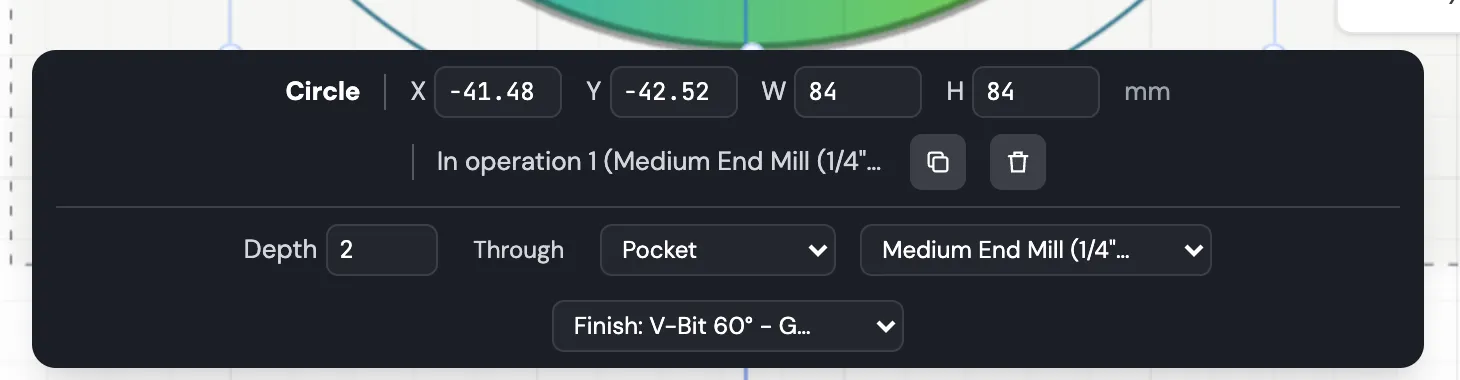
The text: Depth 0. A shape at 0 mm inside a pocket is left standing, so the letters stay raised. The bar says Stays standing.
The outer circle (cut-out):
- Depth 12 (the full stock thickness, so the bar says Through).
- Cut path Cut outside, so the coaster ends up exactly 100 mm.
- Bit ¼″ end mill, 4 tabs to hold it in place until you cut them.
5. Check the operations
Open the Operations tab on the right. Cut Studio has built the job for you, one operation per bit change, in a safe order:
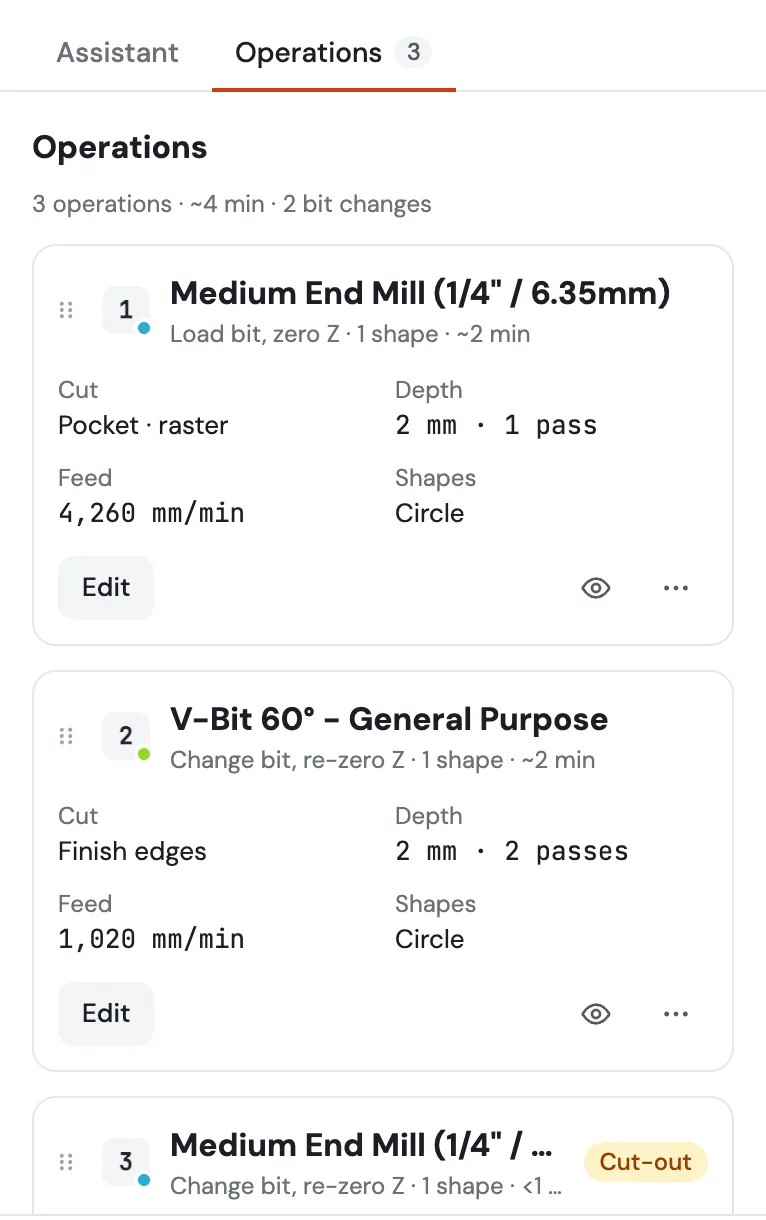
- ¼″ end mill: clears the pocket.
- 60° V-bit: finishes the pocket edges. Change bit, re-zero Z.
- ¼″ end mill: cuts the coaster out, last, because it may come loose. Change bit, re-zero Z.
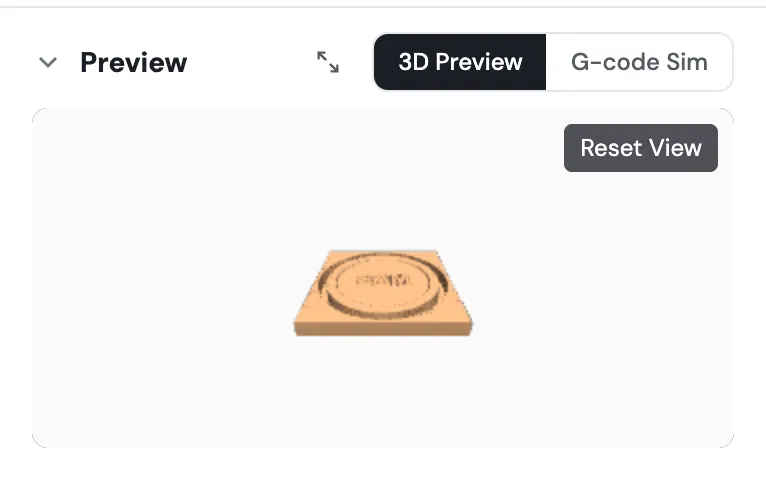
Look at the 3D preview under the operations. It's built from the real G-code, so check the letters stand up, the edges are chamfered and the tabs are there.
6. Cut it
- Export G-code → All operations (.zip), or download each operation on its own.
- Clamp the blank, put the ¼″ end mill in, and zero X and Y on the centre of the blank and Z on its top.
- Run
01-…. Change to the V-bit, re-zero Z only, run02-…. Change back to the end mill, re-zero Z, run03-…. - Snip the tabs, sand, and oil.
Before you press start
Check the bit matches the file's header, the clamps are outside the cut-out, and your hand is near the stop.
Where next
- Project Editor: getting started covers every tool and cut path.
- Bits, machines and material presets gets your feeds right for your machine.
- Got a Genmitsu, FoxAlien, Shapeoko, LongMill or 3018? Its machine guide has the preset, starting feeds and speeds and a test file to check the machine.